Look at this wonderful wooden French curve from the
Sandy Spring Museum collection. It was my top choice of shape to represent
Christopher Alexander's concept of positive space.
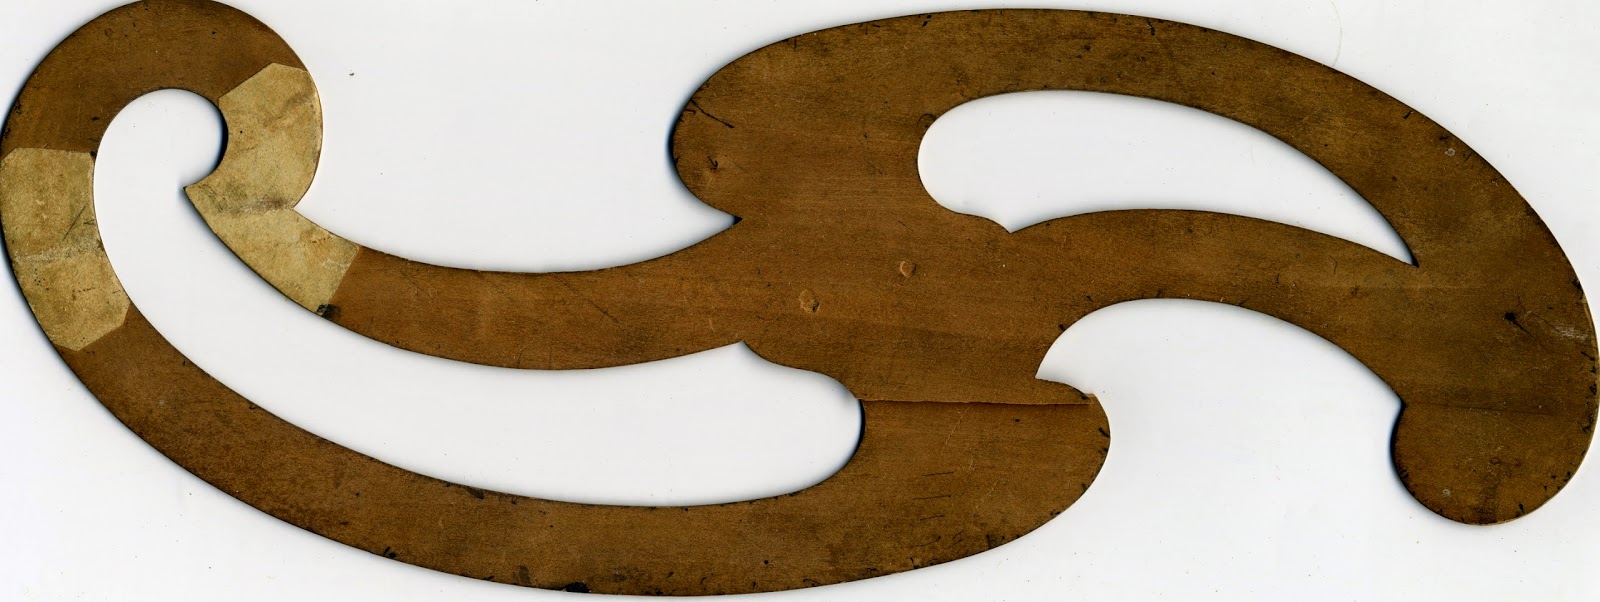 |
| Wooden Template/French curve - Object ID 1990 0024 0022 |
I plan to use it as a large scale motif in the background of the fabric design enlarging the motif from 9.5" to 14" to better fit my fabric dimensions. I'm envisioning 4 motifs placed as shown below. This arrangement creates new shapes. Each motif is a
"center" in Christopher Alexander's terminology, but the grouping of the motifs builds additional centers which reference each other.
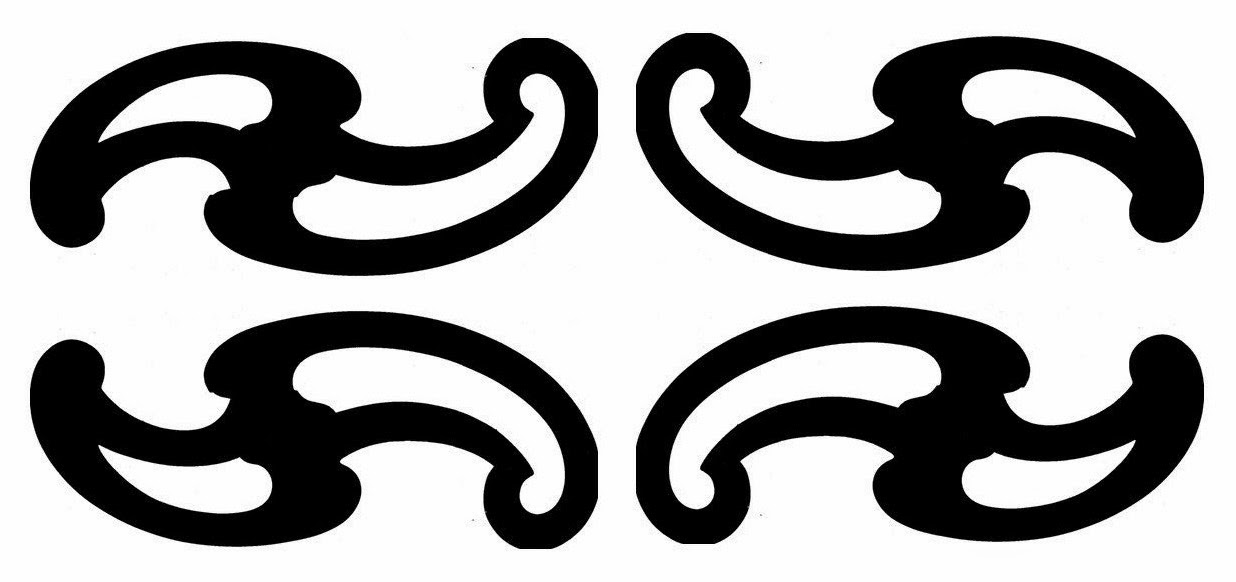 |
| French curve motif mirrored, grouped and flipped. |
I'm using
Silhouette brand matte adhesive vinyl cut by a
Silhouette Cameo to create the stencil. The Silhouette software allowed me to enlarge the motif from it's original 9.5" wide to 14" wide to better fit my standard fabric size for the grant (18.5"x30"). It's a large, awkward stencil using the thin vinyl, so it's been adhered to my kitchen wall in between usages for fear of it sticking to itself. In retrospect, a firmer stencil material would have been a better choice for this large motif. I adhered it 4 times to fabric in my testing without issues. It's still tacky enough to use again. The thin diameter of the vinyl makes it easy to print. I'll keep looking for a better, cheaper stencil material, but this work pretty well.
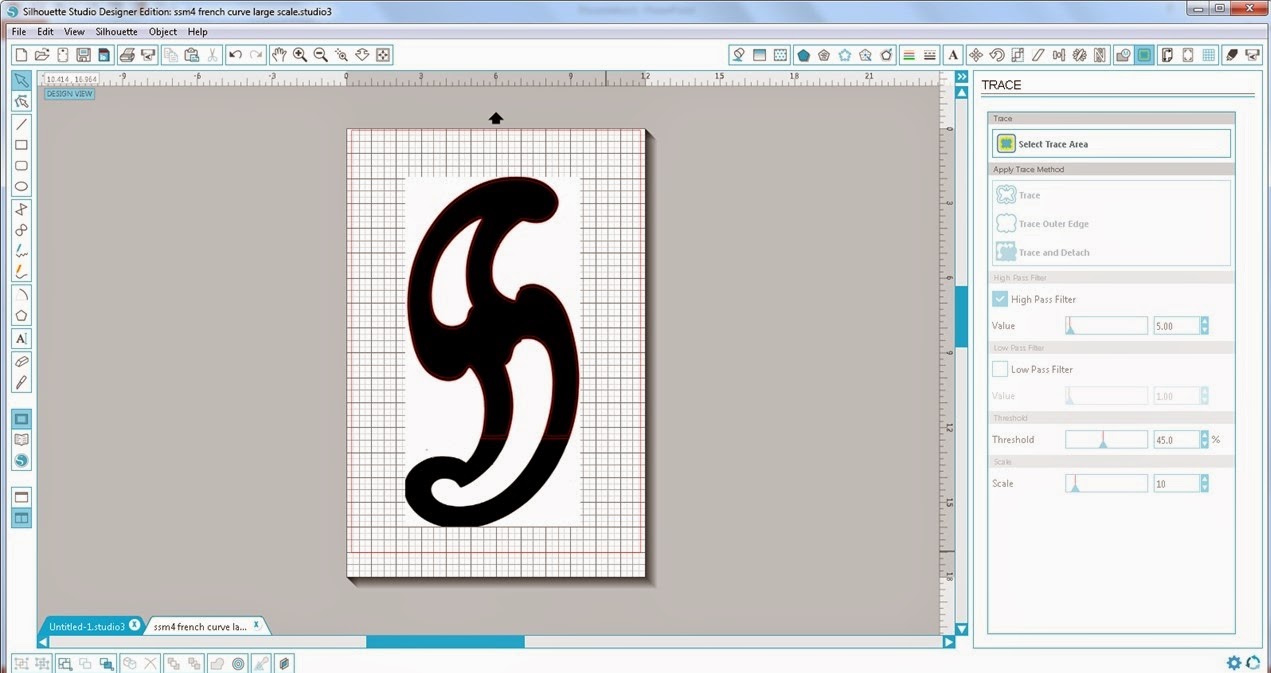 |
| Screen shot of the Silhouette software. The original attempt to trace the motif on a 12"x 18" background. |
I couldn't get the Silhouette software to trace the 14" shape even though I had defined a large enough page space for it. The software would only trace the upper portion that was sitting in the standard 12" x 12" grid. So, I set the shape on the diagonal to squeeze it into the 12"x12" space. Tracing worked great. I'll have to figure out if the limitation lays with the software or if I have more to learn. My mother was fond of the expression "If there is a will, there is a way."
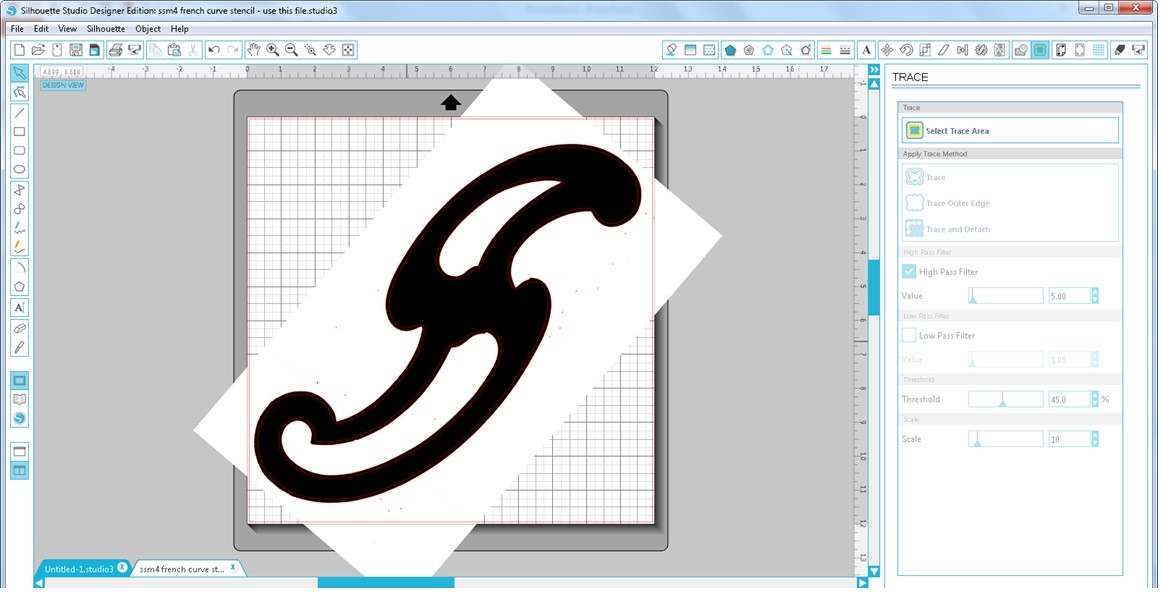 |
| Silhouette software screen shot of the motif skewed to fit into the standard 12"x12" space. |
Another issue I ran into was that you're supposed to be able to cut vinyl without a mat, but my experience was that the vinyl shifted under the rollers when feeding into the machine. I decided to stick the vinyl on a mat to move ahead with the project. It cut very nicely adhered to the mat. The maximum size limit on the Silhouette Cameo is supposed to be 12" x 10' cutting without a mat. The manual recommends sticking to less than 40" in length due to feeding issues. Silhouette sells a roll feeder accessory to assist with rolled materials and keeping the material aligned. However, testing the maximum length was not today's exercise.
To print the stencil, I folded the fabric in quarters and ironed the folds to provide me with guidelines. Two of the stencil edges were cut to align with the ironed folds. I taped the test fabric down to my table, adhered the stencil and masked the rests of the fabric off with large pieces of plastic. I applied deColourant Mist to discharge the dye. I had deColourant on hand... I wanted to try it... Sadly, my light misting touch turned into more of a soaking seeping under the stencil material. I could have chosen to wash out the deColourant product without discharging, but I decided to follow thru on my test. I had blotted up excess mist that landed on the vinyl hoping to stop any leakage. No luck. I moved the stencil and made another attempt at a lighter coating. deColourant still snuck under the stencil. Hmmm...not the right product for this job.
 |
| Fabric folded in quarters and ironed along folds to form guidelines. |
 |
| Fabric taped to printing surface and stencil adhered. |
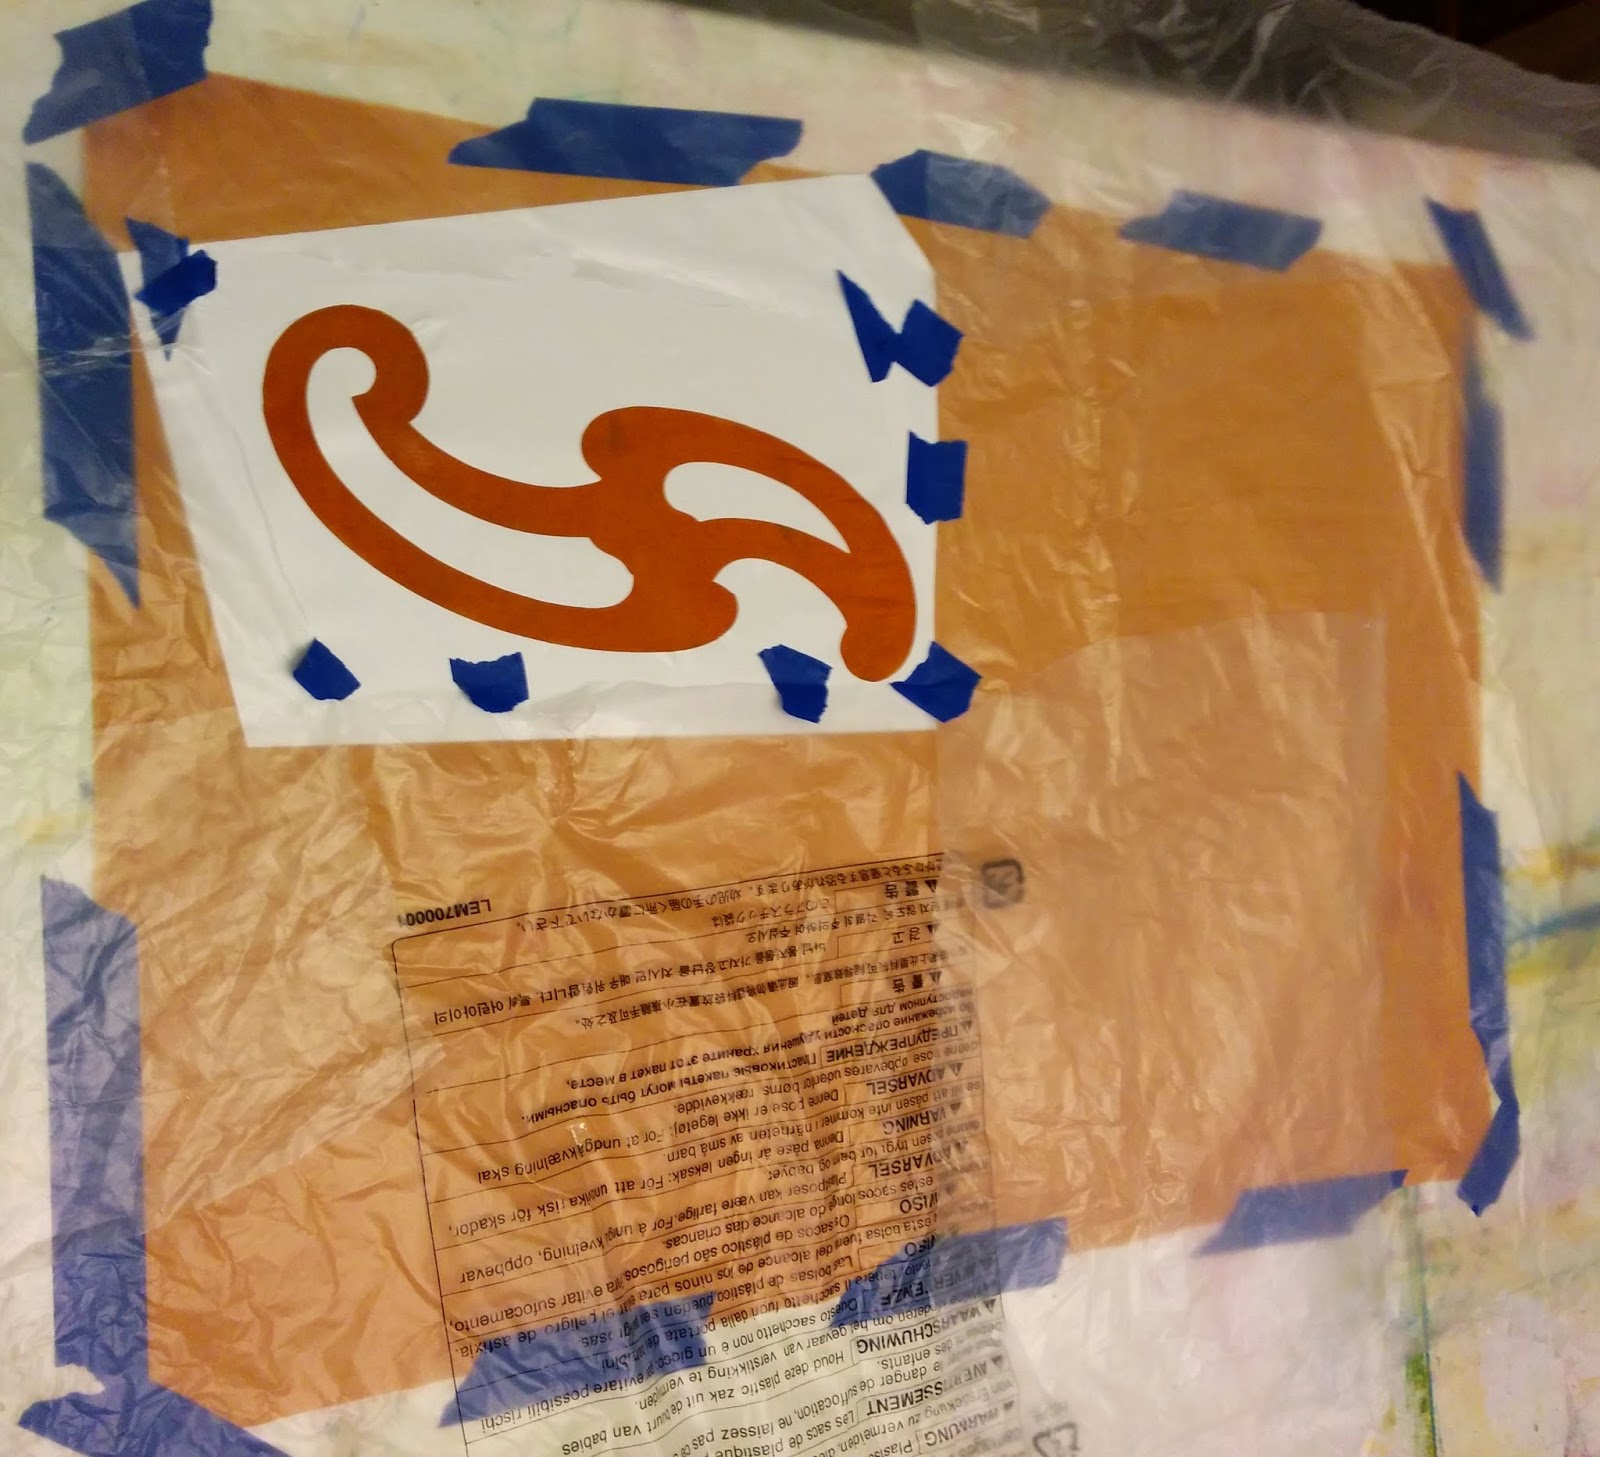 |
| Fabric masked with recycled plastic sheeting and spritzed with deColourant Mist |
Clearly, I need to use a thicker discharge product that I can control better. Dishwasher gel detergents with bleach, Thiox in print paste and deColourant cream would likely all be better choices. To control the coverage, I plan to adhere the stencil to a print screen. I'll use a squeegee to print the discharge paste on in a fine layer to help control leakage. I wanted to use the stencil to do mirror images. Adhering the stencil to the front versus the back of the print screen will accomplish this goal. Initially, I was planning to use a temporary adhesive spray to flip the stencil over and get a mirror image, but that's more work and mess. The vinyl isn't cheap, so I didn't want to cut a second stencil if I could get away with reusing the first. Here are the blurry results below... Tomorrow I will try discharging with Thiox with the stencil on a screen printing frame.
In the meantime, I have a wonderful book called "
Steal Like An Artist - 10 Things Nobody Told You About Being Creative" by
Austin Kleon. It's a fun read with excellent advice and lots of encouragement. It pairs well with tea and chocolate for a boost...
The author really nailed it for me on page 83 with a funky chart entitled "The Life of a Project." From a retired software engineer's perspective it was hilarious! The gist of the chart is that you go through stages of initial elation, anguish as the project doesn't measure up, wrestling it back from the depths of failure (I think that's "responding" in artspeak) and finally spitting out a decent product. I took the lesson from this chart not to give up too soon. I'm practicing another sage bit of advice from Mr. Kleon's book - I'm going to fake it 'til I make it as an artist!


Nothing's easy, huh!? The best stencils I've ever used are made from sheets of oak tag that you brush on a mixture of linseed oil and turpentine. I hang them on old skirt hangers until they dry. They cut like butter and they're pretty flexible and probably less expensive.
ReplyDelete